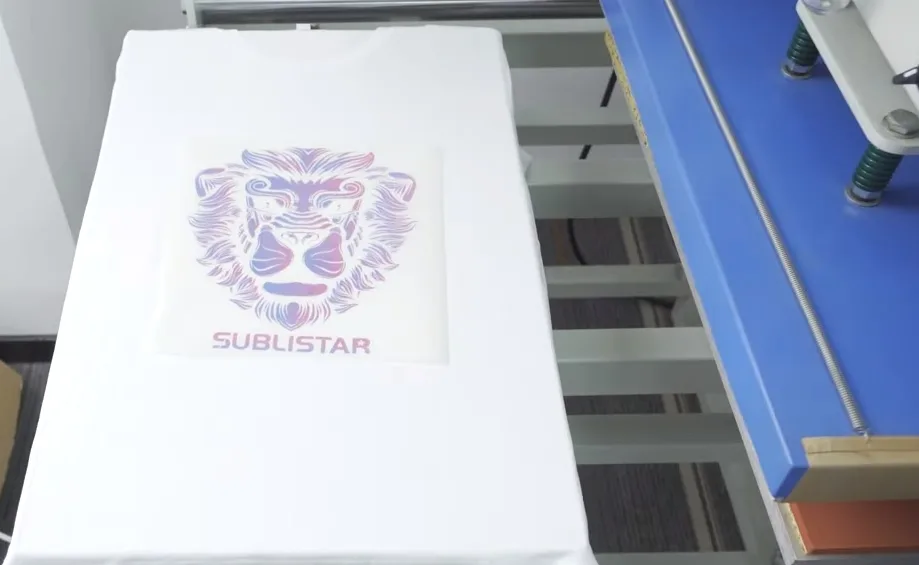
DTF printing is a popular digital printing technology in the clothing industry. With a DTF printer, you can print the designed pattern on DTF film and then transfer the pattern to the fabric. DTF printers are not limited by fabric materials or colors and can print on all types of fabrics, whether dark or light. This article will step by step explain how to use a DTF printer to print on fabrics.
- What is needed for DTF printing?
Before printing on fabrics with a DTF printer, you need the following consumables:
(1) DTF printer
(2) DTF hot melt powder
(3) DTF film
(4) DTF ink
(5) heat press machine
(6) RIP software
All these consumables are necessary in the DTF printing process. Read this article to fully understand them.
How to use a DTF printer to print on fabrics
Step 1: Design mode
In this step, you will need RIP software such as Flexiprint and Maintop to create patterns on a computer. RIP software will significantly affect the final printing effect, ink printing characteristics, and color performance. Therefore, remember to use genuine software to make the best design.
Step 2: Prepare the DTF printer
In this process, you need to set the parameters of the DTF printer in advance and install the DTF film. DTF printers come in different sizes, so make sure the DTF film is compatible with the DTF printer. It is best to do a test print before starting to ensure a smooth printing process.
Step 3: Print the pattern
Upload the design to the DTF printer and start printing. Remember that the design should be in the required format. If you want your pattern to be unique and eye-catching in the market, you can use special DTF films such as metal gold/silver film, rainbow reflective film, and laser reflective film.
Step 4: Apply hot melt powder and cure
After printing is completed, hot melt powder needs to be applied on the surface of the DTF film. Now most DTF printers are equipped with an automatic powder shaking machine that can automatically spread powder and cure the powder. However, for some small businesses or home businesses that only have a DTF printer and no automatic powder shaking machine, in this case, they need to manually apply the powder on the film. When the DTF transfer film is wet, evenly apply hot melt powder. This process can improve contrast and clarity to obtain excellent printing results. After applying the powder, cure the powder with an oven or heat press machine.
Step 5: Iron the clothes
Place the fabric on the platform of the heat press machine and first iron the fabric to ensure that the fabric is flat and wrinkle-free. The flatness of the fabric is conducive to achieving a stunning printing effect.
Step 6: Heat press transfer
Place the cut-out pattern on the correct surface of the fabric and set the recommended time and temperature of the heat press machine. The heat press machine will activate the adhesive on the film and make the pattern stick tightly to the fabric.

Step 7: Peel off the film
After transfer, wait a few seconds for the fabric to cool and then peel off the DTF film on the surface of the fabric. In most cases, the DTF film needs to be peeled cold. However, if you use a hot peel DTF film, you can peel off the film immediately. After peeling, you will get the finished fabric.
Conclusion
All the above steps are the entire process of DTF printing. Whether you are a small business owner, graphic designer, custom clothing business owner, or home business owner, a DTF printer is the best helper for your business. Moreover, the DTF printing process is easy to learn. Enjoy the unlimited possibilities brought by the DTF printer.